Product Screenshot to 3D Device Mockup: A Complete Visual Workflow
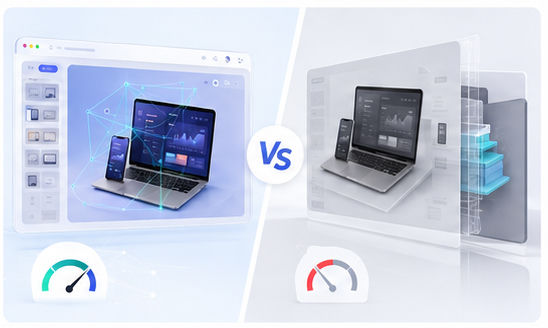
Most product teams already have screenshots. What they often lack is a fast way to turn those screenshots into attractive marketing visuals. A 3D device mockup solves this gap by placing your interface inside a phone, laptop, tablet, browser, or multi-device scene. The result feels more polished than a flat screenshot and easier to understand than an abstract illustration.
Step 1: Choose the right screenshot
The screenshot should answer one clear question: what does this product help the user do? A dashboard can communicate control, an editor can communicate creativity, and a mobile screen can communicate convenience. Avoid screens that require too much explanation. If the viewer cannot understand the screen within a few seconds, choose a simpler state.
Before creating the mockup, clean the image. Remove private information, test labels, browser clutter, and unfinished UI. A mockup can improve presentation, but it cannot fix a confusing source screen.
Step 2: Match the device to the message
Different devices create different expectations. A laptop mockup is strong for SaaS dashboards and web apps. A phone mockup works well for consumer apps, social tools, and mobile-first services. A browser mockup is useful when you want the viewer to feel that the product is immediately accessible online.
You can build this directly with the Animock editor. Upload your screenshot, select a 3D scene, position the interface, and adjust the visual composition without downloading a large template file.
Step 3: Control composition and readability
Perspective adds depth, but too much perspective can make text unreadable. For marketing images, the interface should still be recognizable. Keep the important part of the product screen large enough, especially if the image will appear in a social feed or search result preview.
Use safe margins around the mockup. Many platforms crop images automatically, so avoid placing key content too close to the edge. A centered layout is usually more reliable for blog covers, launch previews, and social posts.
Step 4: Export for specific channels
A wide image works well for landing pages and blog covers. A square layout is useful for social feeds. A vertical format is better for short video covers and mobile-first platforms. Instead of exporting one image and forcing it everywhere, create a small set of channel-specific mockups from the same scene.
This gives your brand consistency while still respecting each platform. The viewer sees the same product identity, but the composition feels native to the channel.
Common mistakes to avoid
Do not place too many devices in one image unless the topic is responsive design. Do not use heavy shadows that make the scene look artificial. Do not choose a background that competes with the screenshot. A mockup should increase clarity, not add visual noise.
Want to turn your screenshot into a clean 3D mockup? Try the Animock online editor and create a presentation-ready product visual.
With a repeatable screenshot-to-mockup workflow, your product visuals can stay fast, consistent, and professional across every marketing channel.