AI Mockup Workflow: From Raw Screenshot to Brand-Ready Product Visual
AI has changed how fast teams can create marketing assets, but the best results still come from a clear workflow. A raw screenshot can become a premium product visual when you combine good input preparation, a suitable mockup scene, consistent brand styling, and a final quality check. Animock helps make this process simple enough for founders, marketers, and creators who need professional visuals without a traditional design pipeline.
Step 1: Prepare the screenshot
Before using any mockup editor, clean the source image. Remove test data, personal information, debug panels, and unnecessary browser extensions. Make sure the product UI is in the state you want customers to see. For SaaS dashboards, use realistic sample data; for mobile apps, choose a screen that communicates a specific benefit.
Resolution matters. A blurry screenshot will still look blurry inside a beautiful 3D scene. Export at a high resolution whenever possible, and use a consistent aspect ratio for screens that will appear together.
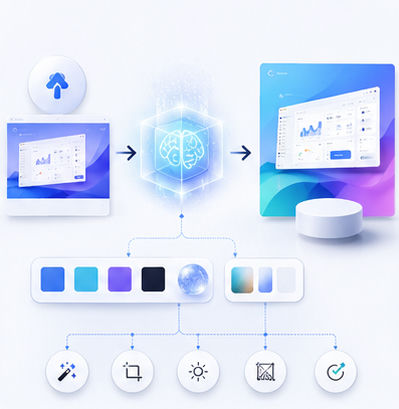
Step 2: Choose the right mockup scene
A mockup scene should support the message. If you are promoting a mobile productivity app, a clean smartphone scene may be enough. If you are explaining a full workflow, a desktop browser or laptop view may communicate more information. For a responsive product, a multi-device arrangement can show that the experience works across screens.
Animock gives you a direct way to move from screenshot to scene. You can open the mockup editor, upload your image, and adjust the presentation without setting up complicated design software.
Step 3: Add brand consistency
Brand consistency does not mean adding a logo everywhere. It means using repeatable color, spacing, lighting, and composition choices. If your website uses a soft blue gradient, your mockup covers can echo that tone. If your brand is minimal and monochrome, a simple studio background may work better than a colorful scene.
This consistency is especially important for SEO content. When readers see multiple articles from the same website, unified cover visuals help the site feel more established and trustworthy.
Step 4: Export for the channel
Different channels need different exports. A blog cover may need a wide ratio, while a social carousel may need square or vertical images. A website hero image often needs more empty space around the mockup so the layout can breathe. Before exporting, think about where the image will appear and how it may be cropped.
A strong final mockup should be sharp, readable, and emotionally aligned with the product. It should make the viewer want to know more, not force them to decode a cluttered interface.
Ready to build your next visual? Open the Animock editor and create a polished mockup in minutes.
With a repeatable AI mockup workflow, your team can produce better visuals faster while still keeping every asset aligned with your product story.