No Design Skills? Use This Product Mockup Workflow to Create Better Visuals
You do not need to be a professional designer to create better product visuals. What you need is a clear process. Many founders and creators struggle because they open a design tool without knowing what the final image should communicate. A simple mockup workflow removes that uncertainty and helps you create polished visuals from ordinary screenshots.
Start with one message
Before choosing colors or devices, decide the message of the image. Are you showing a new feature? Announcing a launch? Explaining a workflow? Demonstrating that your app works on mobile? The message determines the screenshot, layout, and final composition.
If the image tries to say everything, it usually says nothing. A focused mockup with one clear product screen is often stronger than a crowded image with multiple tiny screenshots.
Prepare a clean source image
Use a screenshot that is sharp and free of distractions. Hide personal data, remove messy browser extensions, and choose realistic demo content. If the product screen looks unfinished, the mockup will also feel unfinished. Good source material makes the final result much easier.
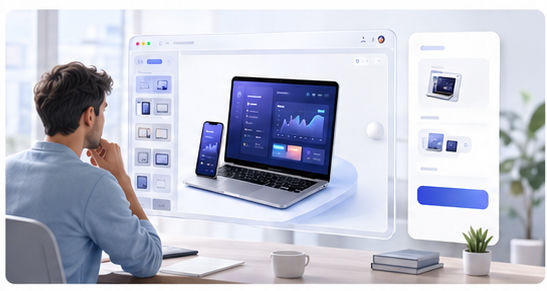
Then use the Animock editor to place your screenshot into a 3D device or browser scene. This is the step where a flat screen starts to feel like a product presentation.
Use simple design rules
Keep the background light or softly graded. Leave enough margins. Use shadows subtly. Make the product screen large enough to read. Avoid adding too many decorative elements. These basic choices can make a mockup feel professional even without advanced design training.
For most marketing use cases, clarity beats complexity. A visitor should immediately understand what the product is and why the visual matters. If the viewer needs to zoom in or guess what they are seeing, the mockup is not working hard enough.
Create reusable formats
Once you make one good mockup, do not start from zero next time. Build a small set of repeatable formats: a landing page hero, a blog cover, a social announcement, a feature highlight, and a tutorial visual. Reusing these formats saves time and keeps your brand consistent.
This is especially useful for solo founders and small teams. You can publish more often without sacrificing presentation quality.
Check the final image before publishing
Preview the mockup at the size people will actually see it. A visual that looks good on a large monitor may become unreadable in a social feed. Check contrast, cropping, and interface clarity before exporting your final version.
Want to create product visuals without complex design software? Open the Animock editor and build a clean mockup from your screenshot.
Good mockups are not about showing off design skill. They are about helping your product feel clear, credible, and worth exploring.